

When we bought our home, it was still in the framing stage—no drywall, no finishes. While the builder didn’t allow many customizations, I did manage to change the flooring to a lighter, more neutral tone. But for some reason, they wouldn’t let me change the stair stain color. The plan was to stain them a nearly black espresso… which was not the vibe i was going for.
So I asked them to just leave the stairs unfinished—and we lived with raw wood stairs for the next 7 months while I figured out what to do.
***Note: I wasn’t planning this blog post over the past few months while working on the stairs, so I am sorry that some of the photos are not the best!
When Stain Doesn’t Match Faux Wood Flooring
I originally planned to stain the treads to match the LVP flooring throughout the house. But matching real stain to faux wood? Turns out that’s nearly impossible. Every test looked like a slightly-off attempt at a match, which somehow looked worse than just doing something totally different.
After a lot of weird DIY stain mixes, experiments, and frustration, I switched gears and decided to paint the stairs using a floor enamel. Spoiler: the color I tested in wall paint looked nothing like it did in floor enamel. What I hoped would be a warm, desaturated brown turned out… flat grey. So time to pivot.
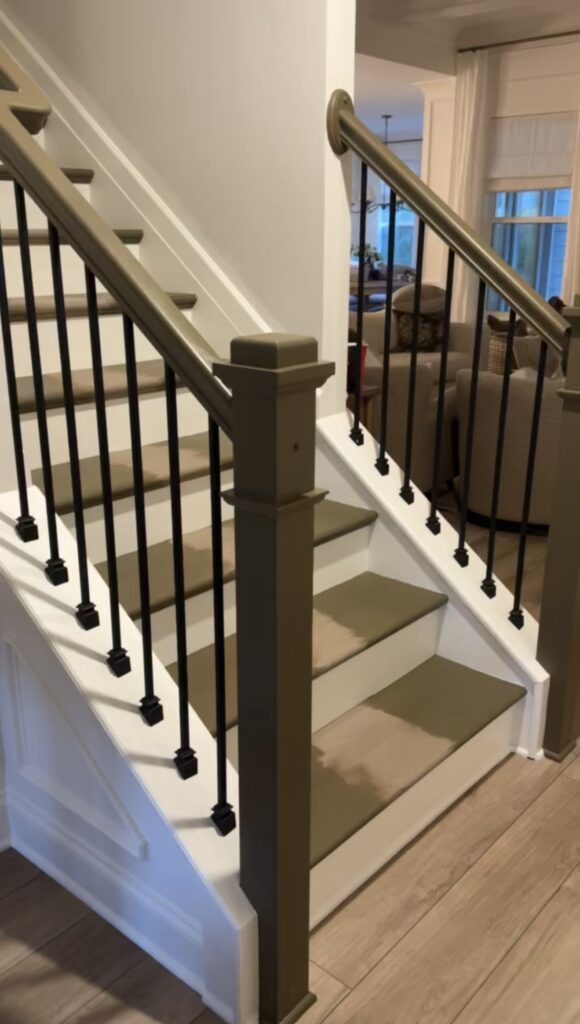
Eventually, I landed on just using paint and chose Lodge by Benjamin Moore (eggshell finish) which is a rich earthy brown. Using paint on the treads and handrails wasn’t my original plan, but it actually tied in nicely with our new dark wood kitchen cabinets.
Making It Cozy (and Dog-Friendly) With a Carpet Runner
We have three dogs and one very curious cat, and two of the dogs are not the most confident on slippery stairs. A runner was the obvious next step—cozy for us, safe for them.
But picking a runner? That part took forever.
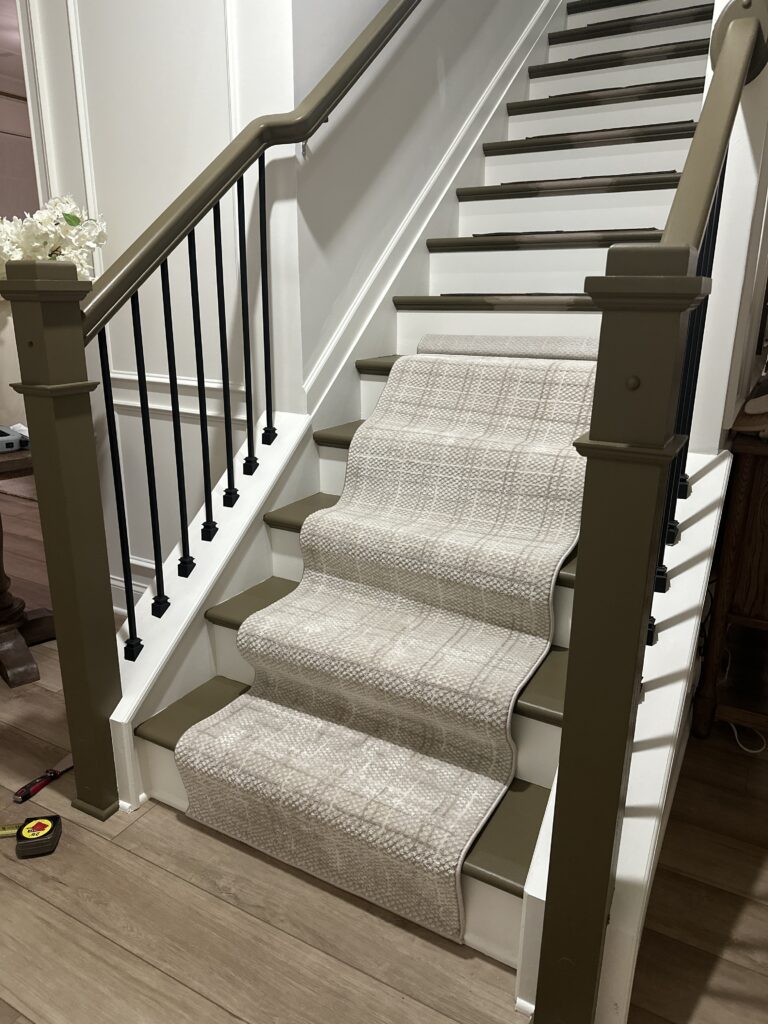
I wanted something soft, neutral, washable, and durable. After ordering and testing a few different options, I chose a greige plaid runner with soft white and brown details. It felt classic but not too formal, and the texture was nice underfoot but would be easy to work with during install.
To cover the entire staircase, I ordered four matching runners and planned to seam them together. I also ordered two grippy rug pads and cut them into smaller sections to use as carpet padding on each step.
The Tools I Used:
- Carpet staple gun + staples
- Utility knife
- Heavy duty scissors
- Carpet stretcher
- Carpet tucker tool
- Hammer
- Measuring tape
- Rug pads (cut into 10″ x 24″ strips)
- 4 matching stair runners
Step-by-Step: Installing the Stair Runner
1. Prep + Padding
I cut the rug pads into strips and stapled one on each tread—just one staple at the back to hold it in place and four at the front. This gives a little extra cushion and helps keep the runner from shifting.
2. Start at the Bottom
I lined up the finished edge of the first runner with the floor at the base of the stairs. Once it was centered, I took a deep breath and stapled it in.
I pulled the runner tight over the front edge of the tread and stapled it generously along the underside of the overhang. Then I pressed the runner firmly into the back corner (where the tread meets the riser) using a carpet tucker and tacked it down there too. This step is key for getting that crisp, tailored 90-degree fold.
3. Stretch + Secure
Using a carpet stretcher, I kept each section tight as I worked my way up. I repeated the fold-crease-staple routine on every step, making sure everything stayed straight and snug.
4. Seaming the Runners
When I reached the end of one runner, I finished it at the back of a tread. I cut off the excess and started the next runner right on top of that same tread. I trimmed the finished edge off the new runner so the seam would be as flat and seamless as possible, then continued the process.
5. Finishing the Top
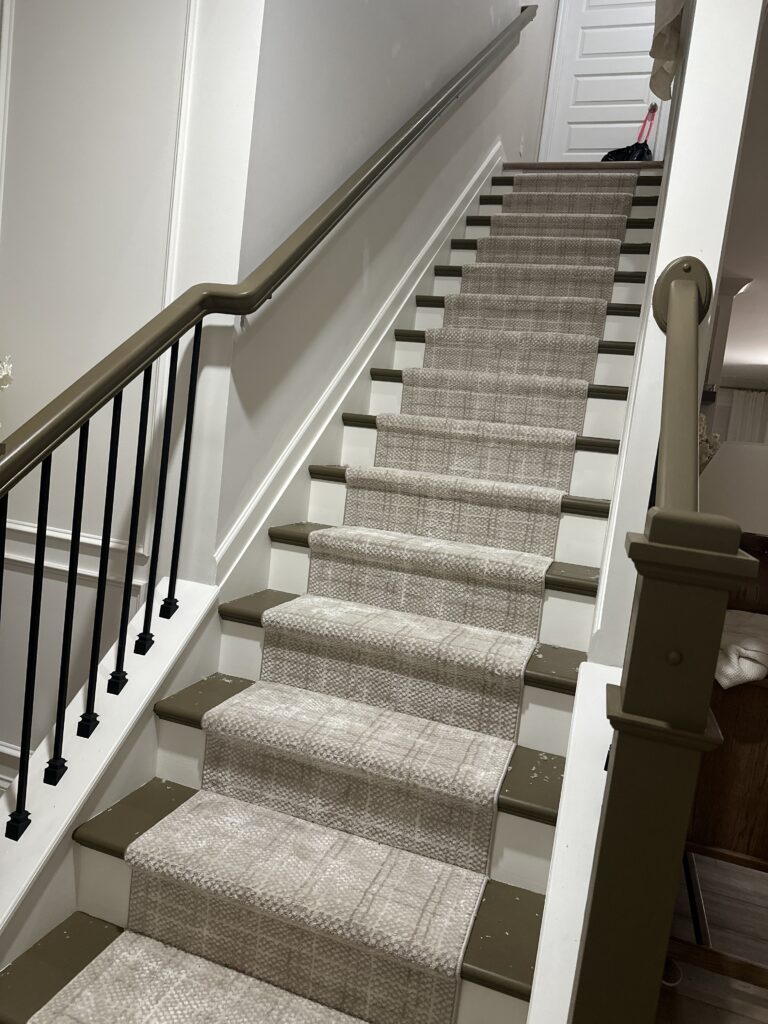
On the final runner, I started from the top of the stairs and worked down so that the finished edge of the runner could tuck cleanly into the crease area where the lower runner ended. That little detail makes it feel really intentional and polished.
✨ Quick tip: If you’re doing this and want the seams to be totally hidden, plan your runner cuts to fall on the backs of treads, not the risers—they’re naturally more concealed there.
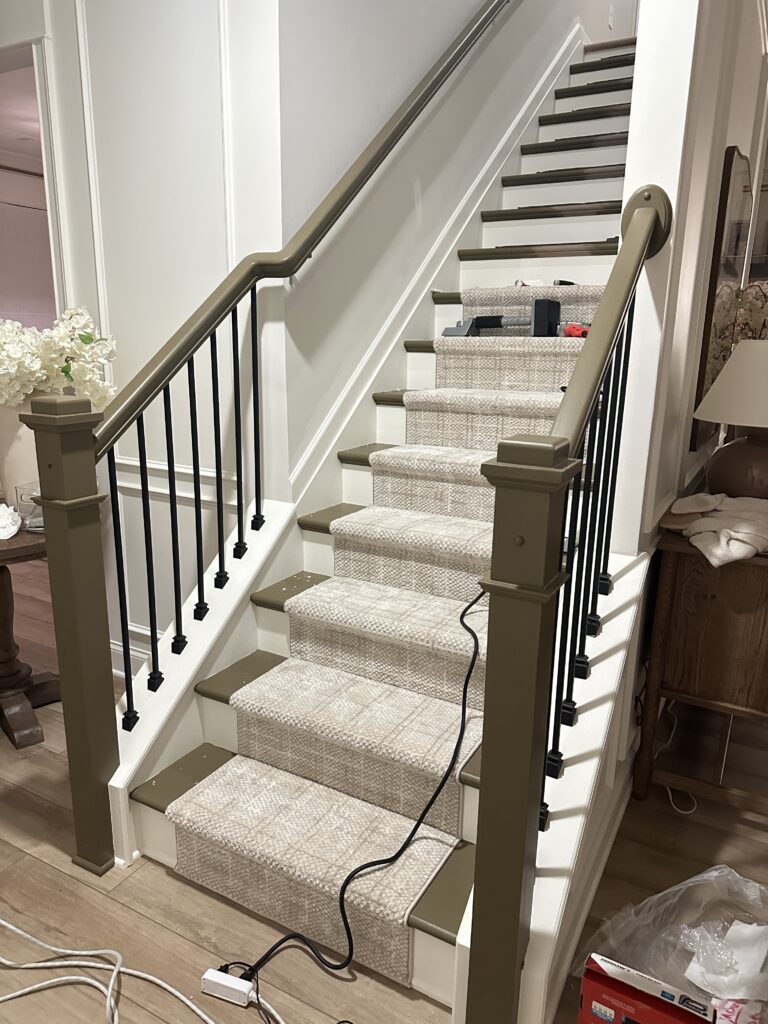
The Final Result: Safe, Soft, and Stylish
It looks amazing, feels amazing, and the dogs are loving it. The pattern brings some cozy texture to the space, and the paint + runner combo ties everything together. Oh—and the runner I chose is supposed to be washable, so fingers crossed it holds up when muddy paws inevitably happen.
Would I do it again? Absolutely. And I’d probably get it done a whole lot faster next time now that I know what tools I need and what order to do it in.

Comments Off on Our Stair Runner Makeover